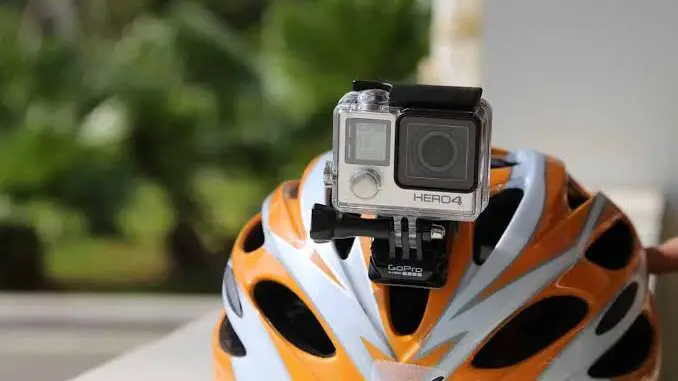
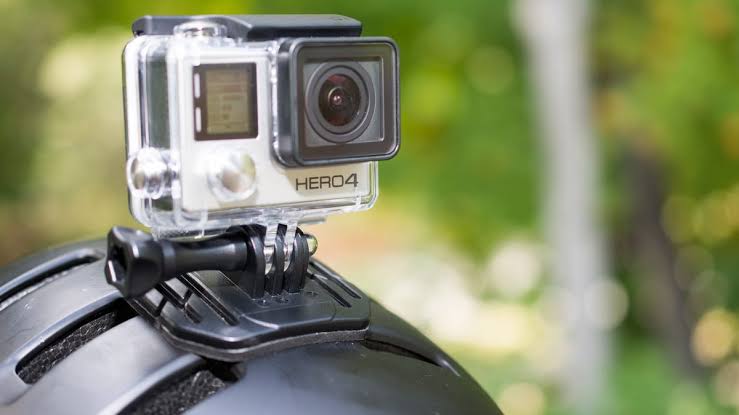
Just as the world is becoming more digitalised, meetings on Zoom, Google Meet, Microsoft Teams etc are becoming rampant. Fortunately, GoPro has released a utility that lets you use the GoPro Hero10, Hero9 and Hero8 as a webcam. Now you can easily use GoPro as a webcam for meetings with clients or work colleagues without any hassle.
As webcams are becoming increasingly expensive and scarce due to high demand, there are myriads of alternatives to help you communicate with colleagues and coworkers via Skype, Zoom, etc. Thankfully, GoPro now has a utility that allows you to use GoPro as a webcam.
Before now, GoPro only works with Apple Macs but not anymore as the software is now compatible with Windows PCs. However, the software (for both Macs and PCs) will only work with the GoPro Hero10 Black, the GoPro Hero9 Black and the GoPro Hero8 Black.
Fortunately, GoPro as a webcam is compatible with Skype, Zoom, Google Meet, Microsoft Teams, and virtually every other major video chat service you can think of. Here’s how to set up and use GoPro as a webcam.
Related articles…
- How to Connect a Printer to your Mac
- How to Install Safari Extensions on your Mac, iPhone, and iPad
- How to Clean Camera Lens
Table of Contents
How to use your GoPro as a Webcam: What you’ll need
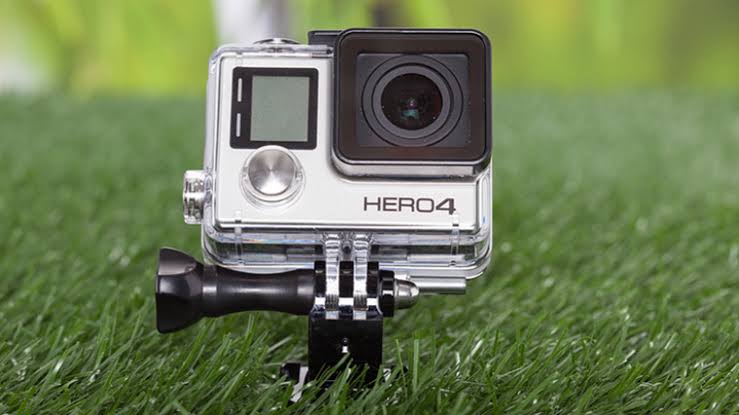
- A USB-C cable that’ll be used to plug your camera into the computer
- Windows /Mac, Laptop, or Desktop
- MicroSD card or microSD card reader
- GoPro Hero10 Black, GoPro Hero9 Black, or GoPro Hero8 Black
However, if you cannot afford a GoPro, you can make use of a smartphone or camera as a webcam.
- Read more: How to Download Netflix Movies
How to use your GoPro as a webcam on Mac
- Update your GoPro’s firmware through the GoPro app
- Download and install the GoPro Webcam Beta Firmware to your Mac (In the status at the top of your screen you’ll see a GoPro icon)
- Power on the GoPro and connect to your Mac through a USB (USB-C 3.0 will be the best)
- A small green dot will appear on top of the GoPro icon in the status bar if the connection is successful
- Click on the GoPro icon in the Status bar, and click Show Preview to properly align the GoPro
- Open the video chat service you want to use and select GoPro as your preferred webcam
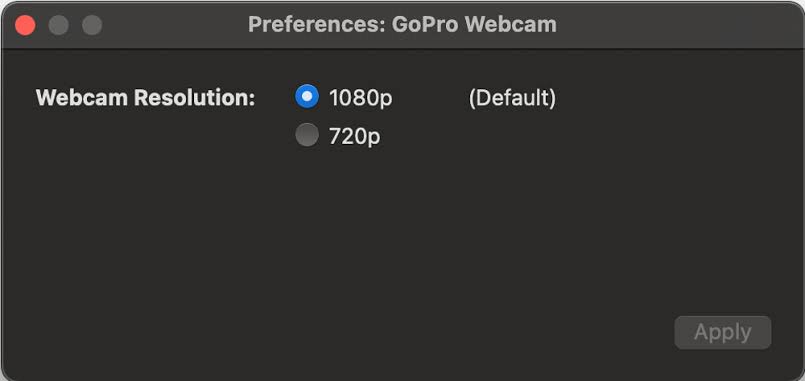
- Adjust the resolution of your GoPro: You can adjust the field of view, change from 1080p (the default) to 720p if you want to, or choose either wide, narrow or linear lenses
Check out: Best Home and Office Colour Printers for Macs in 2022
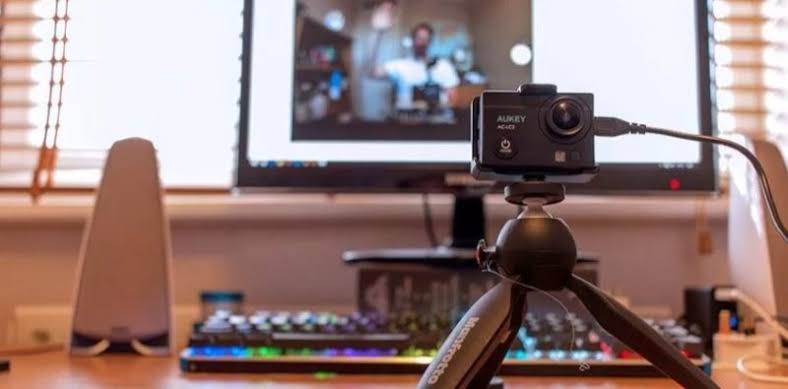
How to use your GoPro as a webcam on PC (Windows)
- Update your GoPro’s firmware through the GoPro app
- You must join the GoPro Webcam Beta Facebook group
- Download and install the GoPro Webcam desktop utility to your PC
- Turn on the GoPro, and connect it to your PC via USB
Read more: Best Home and Office Printers for Windows 11 2022How to Manage Notifications in Windows 11
Video Chat apps that are Compatible with GoPro
You can use GoPro with many video chat services including:
- Zoom (v 5.0.5 and newer) and Zoom Chrome Extension
- Facebook Rooms
- Google Meet
- YouTube Live (Using Chrome)
- Webex (Using Chrome)
- Skype
- Twitch via OBS
- BlueJeans
- GoTo Meeting
- Snap Camera
- Microsoft Teams
Read more: Best Home and Office Printers for Chromebook OS 2022


Be the first to comment