Got a new printer? That’s awesome. However, the thought of setting up a printer and connecting it to your Mac might be a tough job for some people. Fortunately, we’re here to tell you that the steps are easy if you follow the right procedure on how to add or connect a printer to your Mac.
Notwithstanding whether you need to connect one or multiple printers to your Mac either in the office or at home, we’ve got the right steps on how to do that.
Related articles
- Steps on How to transfer iPhone Photos to your PC or Mac Computer
- How to Install Safari Extensions on your Mac, iPhone, and iPad
- How to take a Screenshots on a Dell Laptop
Table of Contents
Add the Printer to your Mac’s Printer List

Before connecting a printer to your Mac, you need to first add it to your list of printers through Printers & Scanners preferences. Meanwhile, it’s a similar process if you switched from using a Windows computer to Mac.
However, most times after adding a printer, Mac uses AirPrint to connect to the printer or automatically download its software (also called a printer driver). Meanwhile, Mac doesn’t support using the software that came with the printer or from the manufacturer’s website, rather follows the instructions in one of the tasks below. Also, bear in mind that macOS prompts you to download the latest software if it’s needed.
- If you want to upgrade your Mac, here’s few steps on how to download and install macOS Monterey
How to Add a Printer to your Mac via USB
Printers that do not have networking capabilities can only be added through a USB or wired connection. In most cases, all you have to do is to update your printer’s software and then connect it to your Mac. However, Mac automatically detects connected printers and downloads any necessary software.
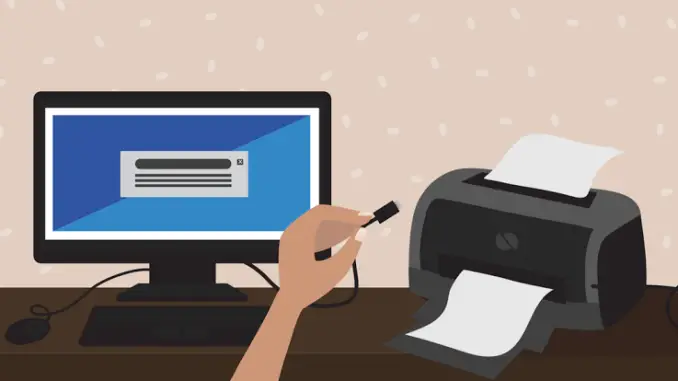
- Connect your printer: Connect the USB cable to your printer and the other end of the cable to your Mac. If there’s a notification requiring you to download new software, then download and install it.
However, if your Mac didn’t detect any software, try adding it manually by using the following method
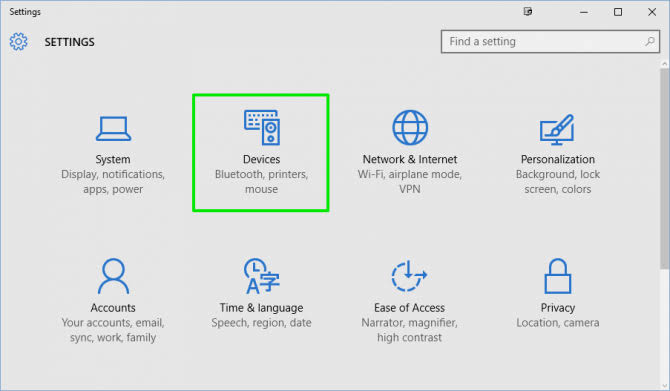
- Go to System Preferences > Printers & Scanners, then click on the plus button
- Select the specific printer with USB on its name
- Click on Add for it to be added to the list of printers
- You’ll be able to see the added printer on the left sidebar of the Print & Scan window.
Read more: Apple Pay Review: How to set up and use Apple Pay in your Devices
How to add a Printer to your Mac through IP Address
Another way to add a printer to Mac is through an IP address. This method is mostly used in case you couldn’t find the printer in the printer’s list and therefore can’t connect it. However, ensure the printer supports either of the following: AirPrint, HP Jetdirect (Socket), Line Printer Daemon (LPD), or Internet Printing Protocol (IPP).
Meanwhile, make sure you know the printer’s IP address (or hostname), printing protocol, and model number or printer software name. Look for this information in the user documentation or contact support.
Note: In some cases, printers connected through this method offer limited functionality.
- Make sure your Mac’s operating system is up to date (check System Preferences > Software Update)
- Turn on the printer
- Go to System Preferences > Printers & Scanners, then click on the plus button to add a new printer
- Switch to the IP tab (the web icon)
- Input your printer’s IP address (or hostname)
- Select either of the protocol (AirPrint, HP Jetdirect, LPD, IPP, etc)
- Type the name of the printer (laser printer or color laser printer)
- Type the location of your printer
- Choose and download the printer driver you want to use
- Click Add to connect
Read: Apple MacBook Pro 13 (M1 2020): Review, Specs, and Price
How to add a Bluetooth Printer
If you have a Bluetooth-enabled printer or you are using a USB Bluetooth adapter, you can easily connect it to your Mac and start printing. This is one of the easiest ways to connect a printer to a Mac and print wirelessly. Meanwhile, before you pair your printer, add it to your Mac’s printer list first.
- Make sure your Mac’s operating system is up to date (check System Preferences > Software Update)
- Turn on the printer
- Go to System Preferences > Printers & Scanners, then click on the plus button to add a new printer
Select the Bluetooth printer in the printer’s list, then click Add. If you didn’t see the printer, search manually by entering its name in the search field, and press Return.
- However, if the printer doesn’t appear in the list, ensure the latest Bluetooth driver is installed. You can check the manufacturer’s website for the latest driver.
- After connecting the printer to a Mac and you see a new update notification, make sure to download and install it.


Be the first to comment