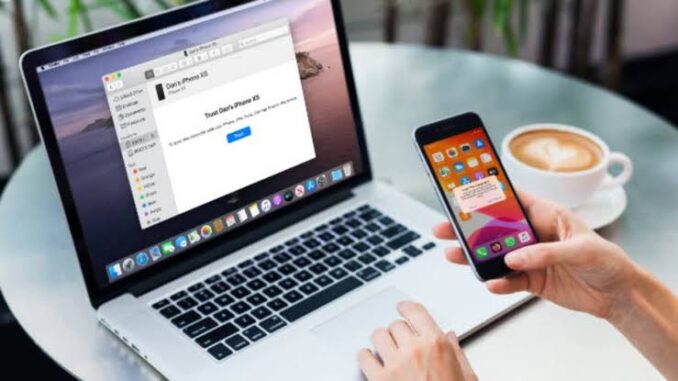
If you’ve been having a problem trying to transfer iPhone photos to your PC or Mac computer, then you won’t experience such after reading this article. Not only that we have the solution, but we provided different options for you to transfer your iPhone photos to any of these operating systems. As we all know that files are mostly transferred from one device to another either wired or wireless, but for each method you prefer, there are different ways to use them to transfer iPhone photos to your PC or Mac.
It is not only limited to wired or wireless methods. There are three main methods to go about this. You either go for the two methods I mentioned earlier or you can synchronize iCloud with your iPhone and your PC or Mac. Normally, Apple would like you to choose iCloud, allowing the photos in your iPhone to gradually accumulate in its servers, but they can rapidly use up your iCloud storage thereby holding you to its Apple’s iCloud subscription payments if you want more. You can still use Google photos, Amazon photos, or Microsoft One Drive if you prefer.
Starting with the wired connections, it requires using a USB cable which you can plug from your iPhone to a USB port in your computer. We recommended using a PC for this method as it serves as a solid option for transferring photos from your iPhone to a computer using cables. For the wireless method using a PC might not be an easy process as it must require a third-party server, so we prefer using a Mac computer to transfer photos from your iPhone wirelessly since they are both Apple devices.
This wireless method is connected using AirDrop which can transfer files at a speed of 60MB per second. This makes the wireless connection faster than the cabled connection, but it might not be a solid option for transferring large files. You might get your photos or videos compressed.
- Here are some of the best Xiaomi phones with 4GB RAM you can buy
Table of Contents
How to transfer Photos from your iPhone to Mac using a Cable
Using your iPhone’s charger;
- Plug one of its ends into your iPhone’s charging port while the other end is to your Mac computer’s USB port.
- Open your Mac computer’s photos app.
- Then on the left of its photos page, you will see an entrance to your iPhone.
- Click on it and you will see the whole of your photos library.
- Click on the specific photos you wish to import to your Mac computer to be selected.
- Click the import button at the top right corner of the screen to add the selected photos to your Mac computer.
How to transfer iPhone Photos to your Mac wirelessly
For the wireless connection, we are using AirDrop to send photos to a Mac computer. Firstly, you have to turn on your Bluetooth and Wi-Fi for both iPhone and Mac computers. For your Mac computer, you can access both buttons at the top right of the screen where the status bar is. I’m sure you already know where you can find it on your iPhone, just swipe down the screen from the top to see the Bluetooth, Wi-Fi, and Airdrop buttons. To enable AirDrop on your Mac computer, from the left navigation menu open up the finder and select AirDrop.
An “allow me to be discovered by” field will pop up from the main pane. It contains the “contacts only” or “everyone”. Select any of them for the AirDrop to work correctly. Note that people nearby can attempt sending you files if you choose “everyone”. From your iPhone, open the photos app and select the photos you want to send. When you’re done selecting, tap the share button from the bottom left corner. Select the AirDrop icon below the photo panel, then you will be shown all the available AirDrop-ready devices around you.
Select the entry for the one that contains the name of your Mac or the one you want to send the photos to, and within a short time, the photos will appear in your Mac’s Downloads folder.

How to transfer iPhone Photos to your Mac using iCloud
First of all, you have to make sure your photos is being uploaded to Apple’s iCloud storage in your iPhone by going to the phone’s settings > Apple ID Profile > iCloud > photos. Enable the first option which says “iCloud photos”. From your Mac, open up the Apple menu in the top left corner of your screen and click preferences from the menu.
Choose Apple ID and sign in. Then from the menu on the left side, iCloud should have been selected but if not, then click it to be selected. Go back to the other menu, click the box near photos and enter your computer’s passcode if asked. After that, all the photos on your iPhone with the ones on your computer will show up in the same place.
How to transfer Photos from your iPhone to your PC using Cables
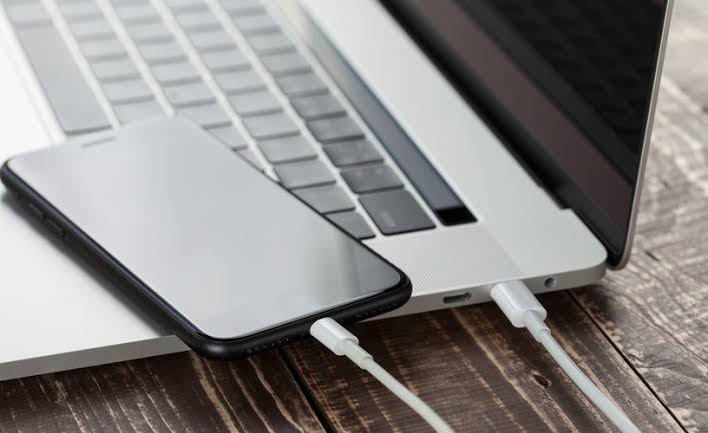
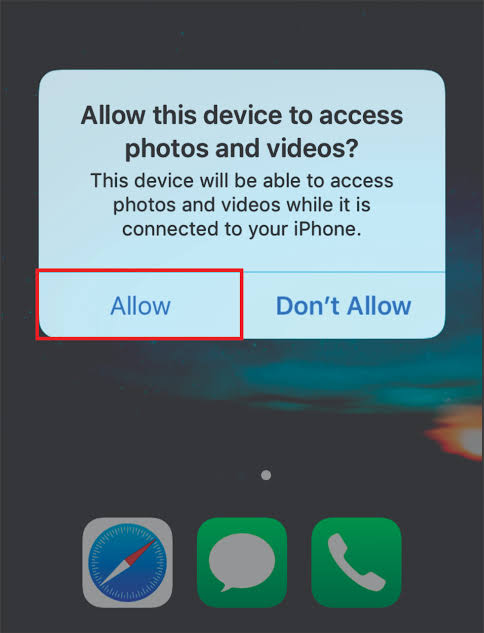
Using your iPhone charger, plug in your iPhone to your PC and unlock your phone. You will receive a pop up immediately asking you to allow your computer to access your iPhone. Press “allow”. On your PC, open up the photos app. From the upper right corner of your photos app, click the import button and a drop-down menu will appear with ” from a folder” or “from a USB device” options. Click the last option, then the computer will start searching for photos on your iPhone which may take a short time.
After that, the computer will display all the photos from your iPhone. Then click on the photos you wish to import for them to be selected. When you are done selecting, click the import button and all the photos you selected will appear on your computer’s photos collection. That’s undoubtedly an easy process.
- Photographers might love to checkout few steps on how to clean camera lens
How to transfer iPhone Photos to your PC wirelessly
This process requires a document app, the OneDrive cloud storage is a good example but we would prefer another document app from the Apple store. Using your iPhone, just go to the Apple store and download the documents app. After you have installed the app, open it up and at the bottom of your screen, click connections. You will be shown different options but just click computer and you will see a 4-digit code.
Then to your PC, go to your web browser and type docstransfer.com, then click the search button. You will be shown a space for you to type in the 4-digit code from your iPhone. After typing in the codes, your iPhone and PC will be connected through the documents app. Note that your iPhone and PC must be connected to the same network before they can connect successfully.
Your photos albums and folders just like they were arranged in your iPhone will appear on your computer’s screen. Then you can select the photos you want to download to your PC by directing the cursor to the thumbnail of any image, then you will see an option to download the image. Click on it and the photo will be downloaded to your PC.
How to Manage Apple ID: Easy Steps to Create and Sign in with Apple ID 2022





Be the first to comment