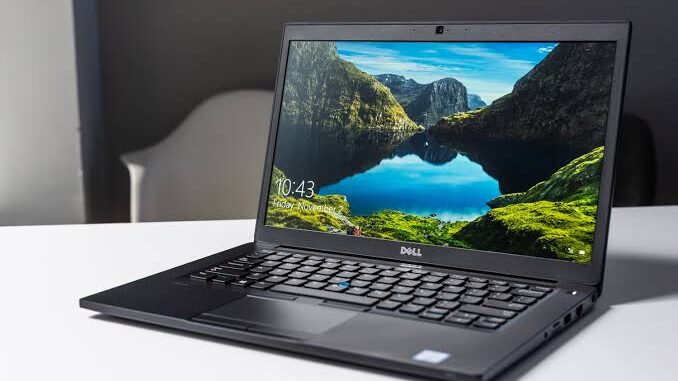
How to take screenshots on a Dell laptop is just the same as on other laptops. So even if you’re not using a Dell laptop, this article will also offer some help to you. Knowing how to take screenshots or capture the on-screen activities of your laptop has become a very important skill every user should learn, regardless of what you’re using it for.
Screenshot is a very essential feature of every computer, it’s just that the process is a bit complex, unlike mobile phones that need just a tap to take screenshots. Therefore, a lot of people are still finding it difficult to take screenshots on their laptops. That’s why we’ve written this article to explain how to go about it using your Dell laptop.
Read more…
- Best Drawing apps for iPad 2022
- Best Laptops for Video, Photo Editing and Animations 2022
- Top Affordable HP Laptops for Students
- Best Workstation Laptops you can buy
So if you own a Dell laptop, and you’re finding it hard to take screenshots, you’ll get to learn a lot from our article. There’re multiple ways of taking screenshots on a Dell laptop as well as other laptops, so it’s good to learn at least one of them. But if you’re still interested in knowing all the methods, you’re at the right place.
On how to take screenshots on a Dell laptop, we’ll teach you the various ways to take screenshots. This includes using the keyboard shortcut- PrtScn key, using the dedicated snipping tool on your laptop, or installing a third-party snipping tool, and we recommend Snagit if you’re searching for one. Our list of best snipping tools for Mac will be of great help to you.
Related articles…
- Check out the easy procedures of installing Adobe Premiere Pro for free
- How to Create a Gmail Account in 2022
- How to Download Netflix Movies Offline
Take Screenshots on a Dell Laptop using the Print Screen or PtrScn Key
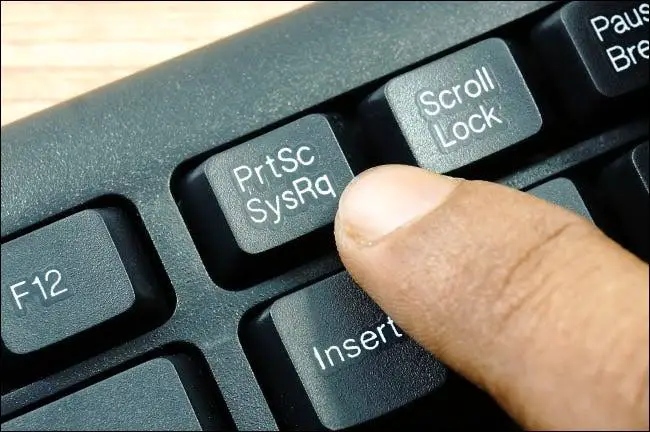
This is a very easy method of taking a screenshot of the whole screen. You can use this method on your Dell laptop as well as other laptops, here’s the way.
- Press the Print Screen or PtrScn key and your entire screen will be captured and saved to the clipboard.
- Now go back to the Start button at the lower-left corner of your screen and click on it.
- Type Paint in the search bar to see the application and open it. You can as well open any graphic editing program of your choice.
- Paste the screenshot from your clipboard to the program by pressing Ctrl and V keys on your keyboard at once.
- Using the program, you can edit the screenshot by resizing it, adjusting the brightness and contrast, add text, stickers, and other annotations.
- Once you’re done with it, you can then click on Save to save your screenshot as an image on your computer.
This method depends on the Windows version of your computer. So if you’re using Windows 8/10, there’s a different method, but still very simple.
Read also Best Google Chrome Extensions 2022
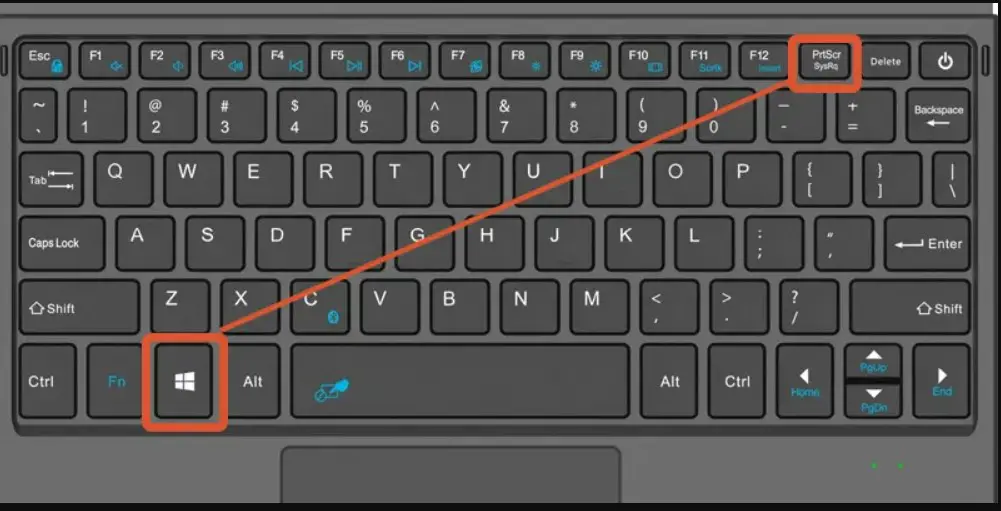
Using the Windows Key and Print Screen or PrtScn Key
- Press the Windows logo or Win key alongside the Print Screen or “PtrScn” key on your keyboard.
This will also capture your entire screen and save it as an image file, so there’s no need to go to a graphic editing program to save your screenshot.
- To see your screenshot, you can open the File Explorer program by pressing the Windows logo key and E at once.
- Now go to This PC > Pictures > Screenshots. This is where you’ll find the screenshot you’ve taken.
Check out the steps on How to Find a Printer’s IP Address

Using the Print Screen or PrtScn key and the Alt key
Sometimes, you might just need only a screenshot of the active window in your Dell laptop. Here’s how to do it.
To take the screenshot of the active window on your Dell laptop, you’ll have to press the Alt key and the Print Screen or PrtScn key at the same time. This will capture only the window that’s currently in use and save it to your clipboard.
- Click the Start button and search for the Paint application by typing the name.
- Open the application and paste the screenshot using the Ctrl and V keys on your keyboard.
- If you plan on sharing the screenshot or find it necessary to edit it, there’s a variety of photo editing tools to use in the application.
- Click Save to save your screenshot as an image on your Dell laptop.
Our list of Best Free Online Photo Editors will be of great help
Using the Pre-installed Snipping Tool in your Dell Laptop
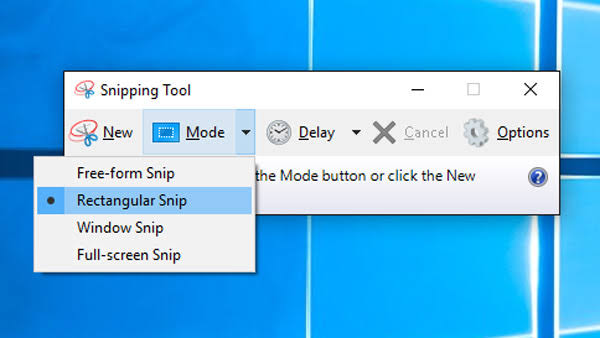
The Dell laptop as well as other laptops has a custom screenshot tool often labelled as Snipping Tool You can use it to capture your screen and make some simple edits.
- Click on the Start button if you’re running another program on your computer to return to the home page.
- Search for Snipping Tool by typing the name in the search bar.
- Open it and click on New.
- Using the mouse, you can map out any region of the screen you wish to screenshot by dragging it while you’re holding one of its buttons.
- Then release the mouse once you’ve selected an area you wish to screenshot, and the screenshot will be taken.
- Click on the Save Snip icon to save your screenshot (you can choose which folder you want your screenshot to be saved in before clicking on the button).
Here’s our list of best Snipping tools
Using a Third-party Snipping Tool
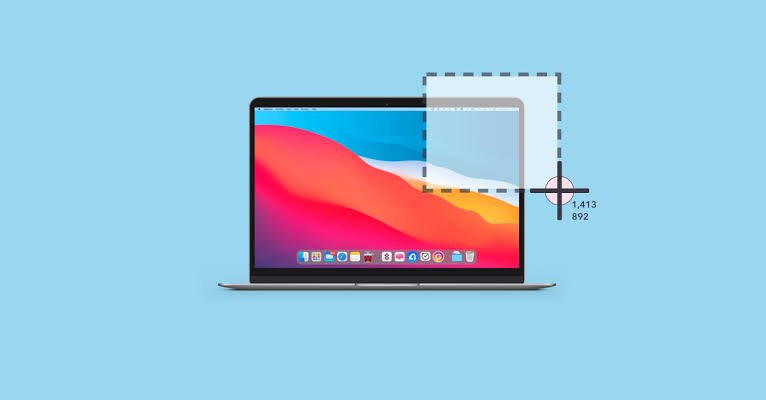
Though all these aforementioned methods of taking screenshots on a Dell laptop are very easy to take, you might come across a situation whereby you’ll need to take a scrolling screenshot or screen record which is beyond the capacities of these built-in methods. However, the only solution left is to install a third-party snipping tool that is designed specifically for capturing the screen.
If we’re to recommend anyone, it’ll definitely be Snagit because it enables you to take screenshots of any section of your screen quickly. Also, Snagit offers some well-advanced image editing tools that’ll help you to edit your screenshots before saving them as an image on your Dell laptop.
- Download and Install Snagit from Google Play Store or Apple Store.
- Click on the Capture button (you must sign in to Snagit before you can be able to take screenshots).
- Select any region or area you wish to screenshot by hovering around your screen. Alternatively, click and drag to choose a custom area.
- To save your screenshot, click the camera icon on the toolbar and your screenshot will be saved as an image.
- Using the Snagit editing tools, you can add shapes, text, and other annotations to your image. You can also adjust the brightness, contrast, and saturation anyhow you feel necessary.
- Then click on Save to save the image to your Dell laptop, or use the share button if you want to share it.


Be the first to comment