
Creating a Gmail account is one of the first setups that should be done once you get a new phone. Without a Gmail account, you cannot sign in to various social media platforms like Twitter, Facebook, Instagram, etc. They’re still a lot to miss if you don’t have a Gmail account, so getting one is a must for every smartphone user.
Gmail or Google Mail was introduced by Google as one of the email services like Hotmail and Outlook. However, Gmail has grown to be the most popular email service, gaining over 1.5 billion users worldwide. This email service is free to use, and it supports a wide range of devices such as Android phones, iPhones, Macs, PCs, and other devices.
Using Gmail, you can exchange emails, documents, and photos with your friends, family, and business partners all over the world. Since its first launch in 2004, Google has been throwing in new updates and features to ensure that Gmail offers one of the most reliable and powerful features to its users.
However, you won’t have to worry about storage limitations. Gmail has up to 15GB of storage so you can send and receive as much text, files, and documents as you like. Interestingly, the interface is user-friendly to enable you to sign in easily to your Gmail account.
Also, you can use Gmail or Google account to access other Google services like PlayStore, YouTube, Photos Google Sheets, Google Drive, Adsense, and more. So if you’re still using Hotmail or Outlook, we’re pretty sure that you would have been fed up with their limitations, like the inability to use the above-mentioned services.
You can check out our list of Best Free Email Accounts and Service Providers
A Gmail account is what you should have on your phone right now. But if you haven’t created one, we’ll guide you through it in this article. You can install the mobile application through Play Store or Apple Store to get started.
Creating a Gmail account doesn’t require a long procedure, and nor does it take much time. Just a follow-up on this article and you’ll get your Gmail account ready within minutes. You can do this with your mobile phone, Laptop, or computer.
Related articles…
- How to Take Screenshots on Windows 10
- How to Reset MacBook Pro 2023
- How to Find a Printer’s IP Address
Table of Contents
Open Gmail
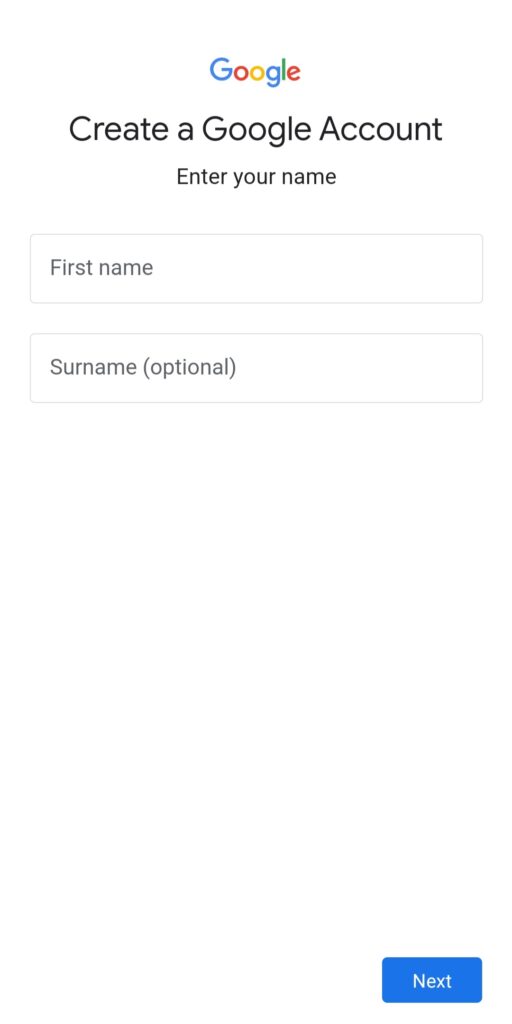
The first step to take on creating a Gmail account is by heading to the Google browser’s home page.
- Click Sign in from the top right corner or type in Gmail.com in the search box and click search.
- Using any of these methods, you’ll be directed to the Gmail account creation page.
- Click on the Create Account button at the bottom of the page.
- After that, the Gmail sign-up form will appear for you to enter your details.
- You’ll start by entering your first name and last name.
- Next, your username (remember to enter a new username if you’ve created a Gmail account before)
- Enter your password which is highly requested to be 8 or more characters long with a mix of letters, numbers, and symbols.
- Saving your Gmail account password somewhere safe is also important because you might need it to sign in to other Google services.
Read more: How to Connect a Printer to your Mac
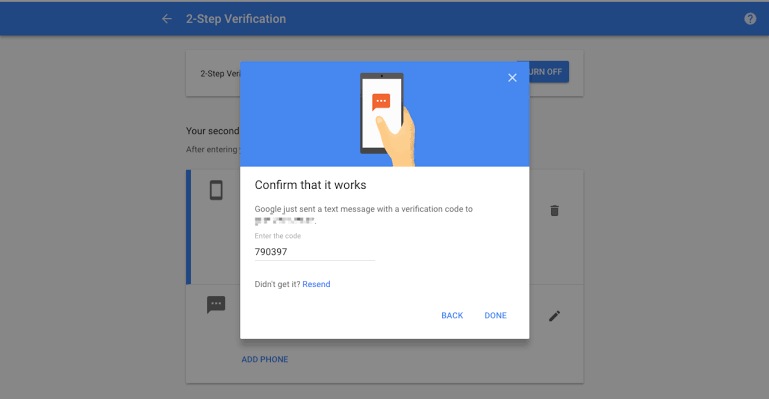
Phone Number Verification
Click on Next to proceed to the phone number verification page.
- You’ll be asked to enter your phone number through which you’ll receive a text message from Google containing a verification code.
- Normally, it takes just a minute for the text message to be delivered. But if it takes longer, you can use the automated call system by clicking on Call Instead
- Once you’ve received the message, enter the code and click on verify.
- Enter your Personal Information
- After you’ve verified your phone number, click on Next to enter the next step on creating your Gmail account.
- Then another page will show up for you to enter your personal information.
- This time, you’ll select your country code by clicking on the flag image before submitting your phone number.
- Enter your previous Gmail address as your recovery email address. If you don’t have any other Gmail address, you can skip this since it’s optional.
- The next on this page is to enter your date of birth and select your gender.
- The reason why your mobile number and recovery email address should be provided is that they’ll help you to recover your account if you forget the password.
- If you aren’t convinced by our reasons, you can find out through a link at the bottom of the page which says why we ask for this information. If you’ve completed this stage, click next to proceed to the next one.
- Next, you’ll be asked for some permission which you can choose to grant by clicking Yes, I’m in. You can choose Skip on the permission you don’t wish to grant.
- The next stage is to agree to Google’s Terms of Service and Privacy Policy. You can do this by just clicking on I agree, but you have to go through it in detail.
That’s just how to create a Gmail account, and your Google account will also be created successfully.
- Read more: How to use your GoPro as a Webcam
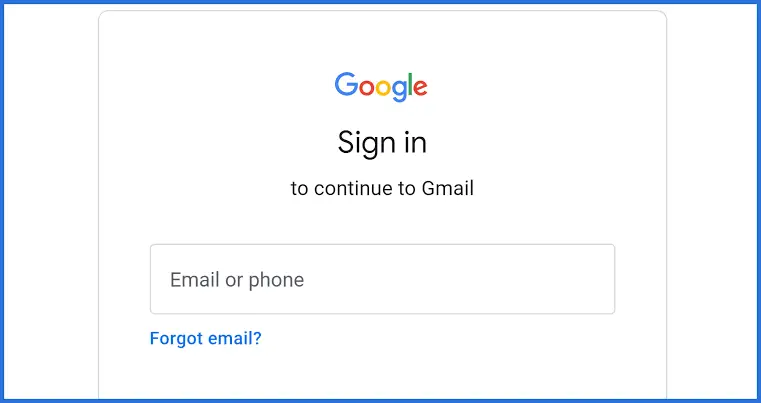
How to Log in to your new Gmail Account
To open and sign in to your new Gmail account;
- Open the Gmail app on your device.
- If you have a Gmail account already, you’ll be signed in to Gmail automatically. But if you logged out, deleted the app, or created a new Gmail account, you’ll have to log in.
- Normally, the Gmail app comes as a pre-installed app by Google on their own Android devices or Apple’s iPhone. But if you don’t have it on your device, then you’ll have to download it.
- Once the Gmail app is opened click on Sign in at the bottom of your screen. But if you already have a Gmail account that is signed in to the Gmail app, you can click your profile icon to add your newly created Gmail address.
- You’ll be shown a page containing all your signed-in Gmail addresses. Click on Add another account
- On the next page select Google.
- The next page is where you’ll enter your new Gmail address or phone number. Enter any of them and click next.
- You can check the box near Remember me and your Gmail account will be logged in to the app.
Read more: Best Free YouTube to MP3 Converter 2023




Be the first to comment